
In this tutorial, we will learn how to use Vault Maven Plugin inside the Spring Boot application to read secrets from HashiCorp Vault.
HashiCorp Vault Overview
HashiCorp Vault is a popular open-source tool that provides secrets management, data protection, and encryption for applications and infrastructure. It allows users to securely store and manage secrets, such as API keys, passwords, and certificates, as well as encrypt and decrypt data. Vault uses a variety of authentication and authorization methods to control access to secrets and can integrate with a range of other tools and platforms. Its features and flexibility make it a powerful tool for managing sensitive information in a variety of contexts, from small projects to enterprise-scale systems.
Vault Maven Plugin Overview
Vault Maven Plugin is a plugin for Maven, a popular build automation tool for Java projects, that provides integration with HashiCorp Vault. It allows users to easily read secrets from Vault and use them in their Maven build process, without having to manually manage secrets or configure Vault clients. With Vault Maven Plugin, developers can securely retrieve secrets at build-time, test-time or runtime, and use them to configure their application or run automated tests. This plugin simplifies the management of secrets and enhances security in the development process.
High-Level Steps
To integrate HashiCorp Vault with your Spring Boot application using Vault Maven Plugin, you’ll need to take a few simple steps:
-
Start the HashiCorp Vault on your local system.
-
Store the secrets inside Vault via the web interface.
-
Add the Vault Maven Plugin to your application’s pom.xml file.
-
Configure the plugin to connect to your Vault server, providing the server URL and authentication token.
-
Configure the path from where you want to read the secrets.
-
Configure the keys whose values you want to read and assign them to Maven properties.
-
In your application.properties file, reference the Maven properties you just created and assign them to Spring Boot properties.
-
Finally, use these Spring Boot properties in your application wherever needed to access the corresponding secrets. With these steps, you can quickly and securely read secrets from HashiCorp Vault in your Spring Boot application.

Configuring HashiCorp Vault
Downloading & Starting the Vault Server
-
Download the HashiCorp Vault from the official website. Unzip and place vault.exe inside any folder on your system.
-
Start the terminal/command prompt and change the path to the folder containing the vault.exe.
-
Start the vault server in development mode with the following command.
vault server -dev
Note:
For learning purposes, we are starting the vault server in development mode. The development mode should not be used in production environment.
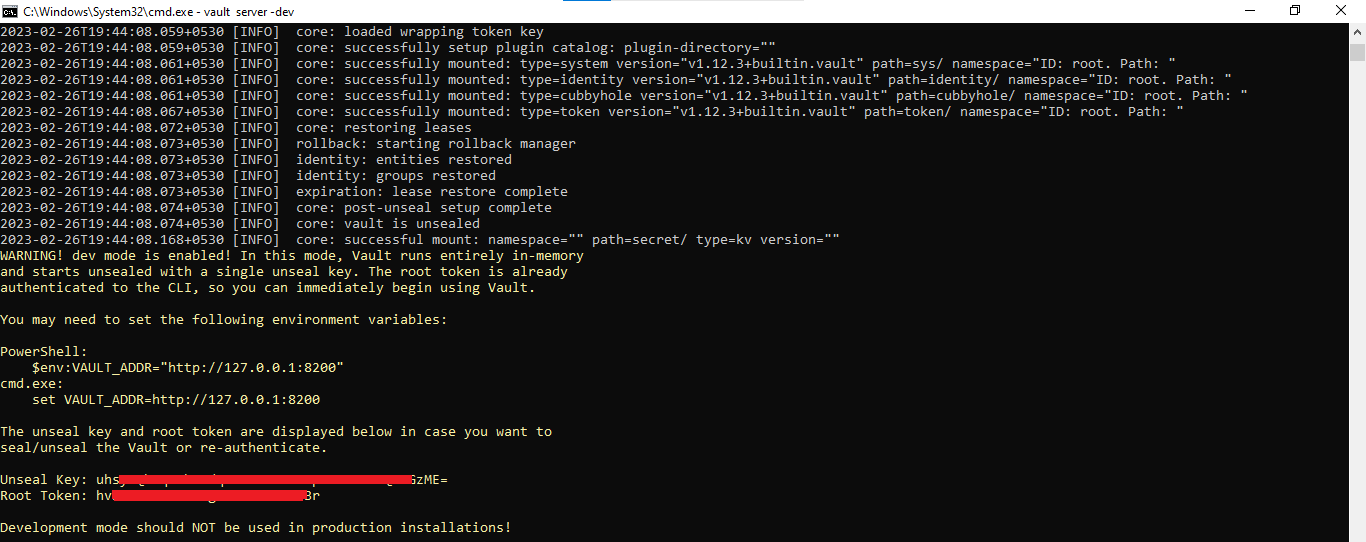
Once the vault server is started, you will notice the server address and also, the root token. This root token can be used for storing the secrets in the vault server via the web interface.
Storing the Secrets in Vault Server
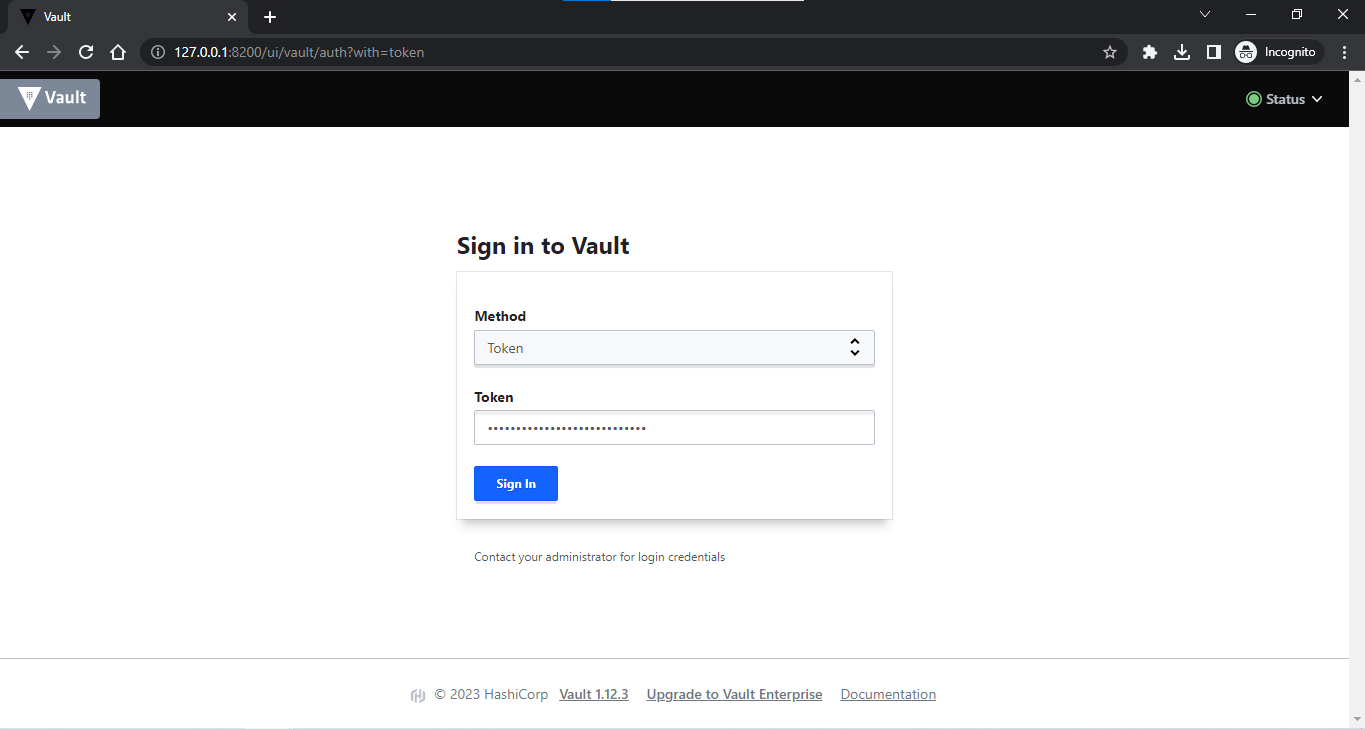
Login into the vault server via the web interface using the token that was obtained after starting the server.
URL:
http://127.0.0.1:8200/ui/vault/auth?with=token
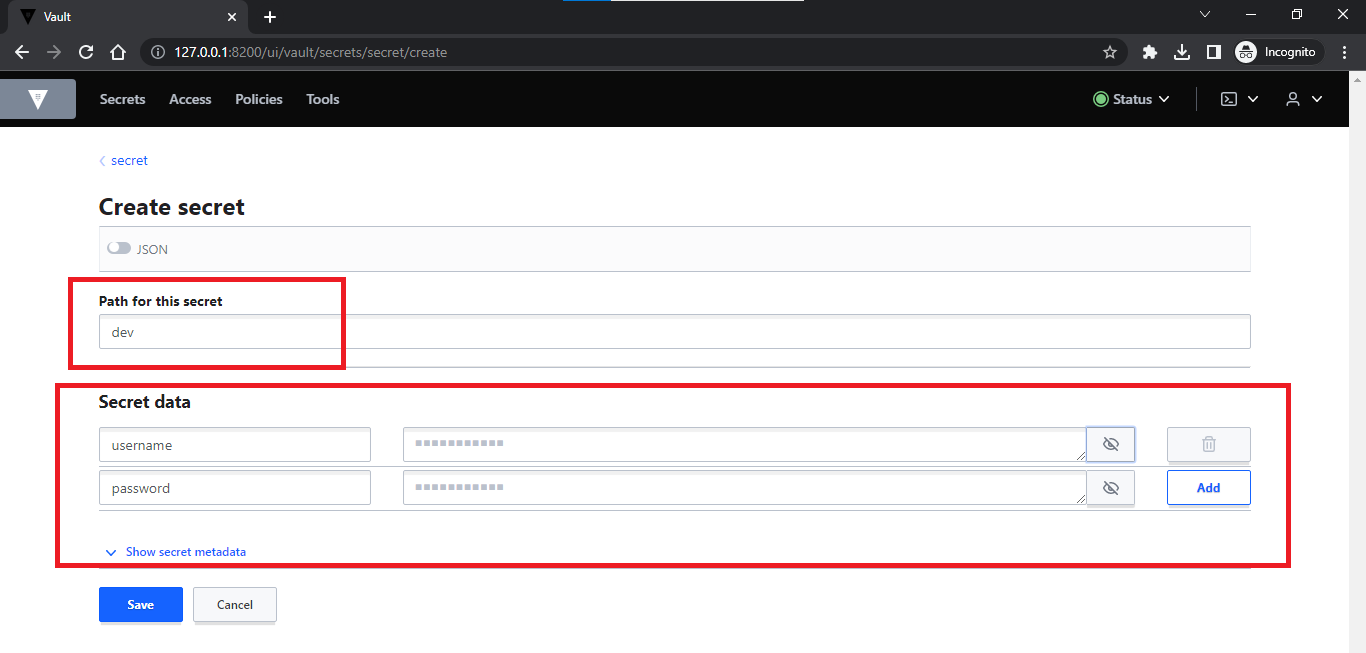
Store Secrets inside the key/value secret storage
-
After successful login > go to “secret/” key/value secret storage.
-
On the next screen, you will list of secrets that are already available. Click on the “Create secret” button.
-
Specify paths and store secrets along with their values.

Spring Boot Example
Once we have stored the secrets inside the vault server then we can read those secrets with the help of the Vault maven plugin.
-
Add the vault maven plugin in the application and configure the vault server details and secrets you want to read.
<!-- Read secrets from HashiCorp Vault and assign it to Maven properties -->
<plugin>
  <groupId>io.github.schereradi</groupId>
  <artifactId>vault-maven-plugin</artifactId>
  <version>1.1.3</version>
  <executions>
    <execution>
      <id>pull</id>
      <phase>validate</phase>
      <goals>
        <goal>pull</goal>
      </goals>
      <configuration>
        <servers>
          <server>
            <!-- Update vault server URL with your own URL -->
            <url>http://localhost:8200</url>
            <!-- Token to authenticate with Vault server. Do not hardcode the vault token -->
            <token>${vaultToken}</token>
            <paths>
              <path>
                <!-- Vault path can be hardcoded completely or it can be made dynamic like shown below -->
                <name>/secret/${environment}</name>
                <mappings>
                  <mapping>
                    <!-- key - name of the key stored in vault -->
                    <key>username</key>
                    <!-- property - to whom you want to assign the value after reading it from the Vault -->
                    <property>username</property>
		  </mapping>
		  <mapping>
		    <!-- key - name of the key stored in vault -->
		    <key>password</key>
		    <!-- property - to whom you want to assign the value after reading it from the Vault -->
		    <property>password</property>
		  </mapping>
		</mappings>
	     </path>
	   </paths>
	 </server>
       </servers>
     </configuration>
   </execution>
 </executions>
</plugin>-
Refer to Maven properties inside the application.properties and assign them to the Spring Boot properties.
# configuring port number on which application should run
# server.port=8081

# Referring to Maven properties that are defined in pom.xml containing the secrets from the Vault
# and assigning them to Spring Boot properties so that we can use them inside our application wherever required.
prop.username=@username@
prop.password=@password@
-
Read spring properties where required in your application. In our case, we are reading them inside the controller class.
@RestController
public class ReadSecretsController {

    @Value("${prop.username}")
    private String username;

    @Value("${prop.password}")
    private String password;

    @GetMapping("/getSecretsFromVault")
    public String getSecretsFromVault() {
        return "Username: " + username + " Password: " + password;
    }
}
Source Code
The source code for this example can be found on GitHub. Link: click here
The commands for building the project, and running an application/test cases need to run inside the root folder of this project i.e. inside the spring-boot-vault-maven-plugin-read-secrets folder.
How to Build Maven Project
Run the below command to build the maven project.
mvn clean install -DvaultToken={vault-token-without-curly-braces} -Denvironment=dev
How to Run Application
Start the application using any of the commands mentioned below.
Using Maven
mvn spring-boot:run -DvaultToken={vault-token-without-curly-braces} -Denvironment=dev
From JAR File
Create a jar file using ‘mvn clean install -DvaultToken={vault-token-without-curly-braces} -Denvironment=dev‘ command and then execute
java -jar target/spring-boot-vault-maven-plugin-read-secrets-0.0.1-SNAPSHOT.jar
How to Verify Output
Start the application and call the controller endpoint.
Send an HTTP GET request to the ‘/getSecretsFromVault’ endpoint using any of the two methods.
Browser or Rest Client
http://localhost:8080/getSecretsFromVault
cURL
curl --request GET 'http://localhost:8080/getSecretsFromVault
How to Run Test Cases
Run the test cases using any of the commands mentioned below.
Run All Test Cases
mvn test -DvaultToken={vault-token-without-curly-braces} -Denvironment=dev
Run Individual Test Case
mvn -Dtest=ReadSecretsControllerTest test -DvaultToken={vault-token-without-curly-braces} -Denvironment=dev
mvn -Dtest=SpringBootVaultMavenPluginReadSecretsApplicationTests test -DvaultToken={vault-token-without-curly-braces} -Denvironment=dev
Summary
We understood how we could read the secrets from the HashiCorp vault using the vault maven plugin. Also, we practically implemented the same inside our Spring Boot application.
Add a Comment